Friday, December 23, 2016

Scented Felt Hand Warmers

We are from New England and are expecting snow next week. So I decided to make some hand warmers! I knew we'd be in and out of the house throughout the day shoveling, so I knew hand warmers would come in handy. They were really easy to make, and they smell great!


Disclosure: This post may contain affiliate links for your convenience. 

To make Felt Hand Warmers, you will need:

Felt (I used 2 1/2 inch squares for children and 4 inch squares for adults)
Essential Oil (I used Spearmint Oil - the minty smell is amazing on a cold day)
Embroidery Thread (I used DMC Embroidery Floss)
Uncooked Rice 
Embroidery Hand Needles
Sharp Scissors


For each hand warmer, you'll need to cut out two squares of equal size. Or any shape, really. I was planning on making lavender scented heart shaped hand warmers for next month, in time for Valentine's Day. Because I expect we will still have plenty of snow by then.


I used a blanket stitch, but you could use a whip stitch if you prefer. I'm sure there are many more creative stitches, but I just like the look of the blanket stitch on felt projects. 


I used 1 tablespoon of rice per child sized hand warmer and 2 tablespoons of rice for each of the adult hand warmers. I mixed in a few drops of spearmint essential oil. We used brown rice, since it's a larger grain.


Once they are finished, all you'll need to do is pop them in the microwave for 25-50 seconds, let them sit for a few moments when they are finished (please be careful, they may be too hot) and then pocket them. They will keep your hands toasty warm!


We look forward to trying our new hand warmers out!


Note: One reader suggested adding ceramic pie weights to the hand warmers. It will keep them warmer for longer. Has anyone tried this?

Stay warm!

Friday, December 16, 2016

Ribbon Wrapped Embroidery Hoop Tutorial


This simple cardinal cross stitch quickly became a fun project to make! I learned a lot about wrapping ribbon around the embroidery hoop through trial and error. Now I can't wait to make more finished cross stitch projects like this!

Disclosure: This post may contain affiliate links for your convenience. 

To make this project, you'll need: 
DMC Embroidery Floss (666, 352, 437, and 310)

I started out by practicing a few wraps around the hoop with the ribbon. Once I liked the placement, I glued the beginning piece of the ribbon to the inside of the outer hoop, near the opening. 


You'll want to space the ribbon apart, so it is not too thick, otherwise when you place the cloth between the two hoops, you won't be able to close it.


You'll also want to make sure the ribbon is not bunched up in places. It should be smooth and tight around the hoop.


Once you reach the other end of the hoop, glue the underside of the ribbon to the hoop. I closed the hoop with the screw and then debated how to create a bow and some way to hang it.

I then fitted the aida cloth into the hoop and trimmed the excess fabric. Go ahead and use fray check glue if you are worried about the cloth fraying. If it's tight in the hoop and you don't expect it to be taken out, I wouldn't worry about it. You could also use glue to secure it to the hoop, but that may damage or discolor the fabric. I did not use either.

I ended up wrapping the ribbon around the screw, looped the ribbon to about 3 inches, and then created a folded bow in the front, right above the screw. I did add a small dot of glue between the bow and the loop to keep it from slipping. I tucked the end of the ribbon underneath the middle of the bow and secured it with glue.


And there you have it! Super easy! This project took about 1 and a half hours to stitch, and another hour to finish. 

Thursday, December 1, 2016

Stuffed Felt Alphabet


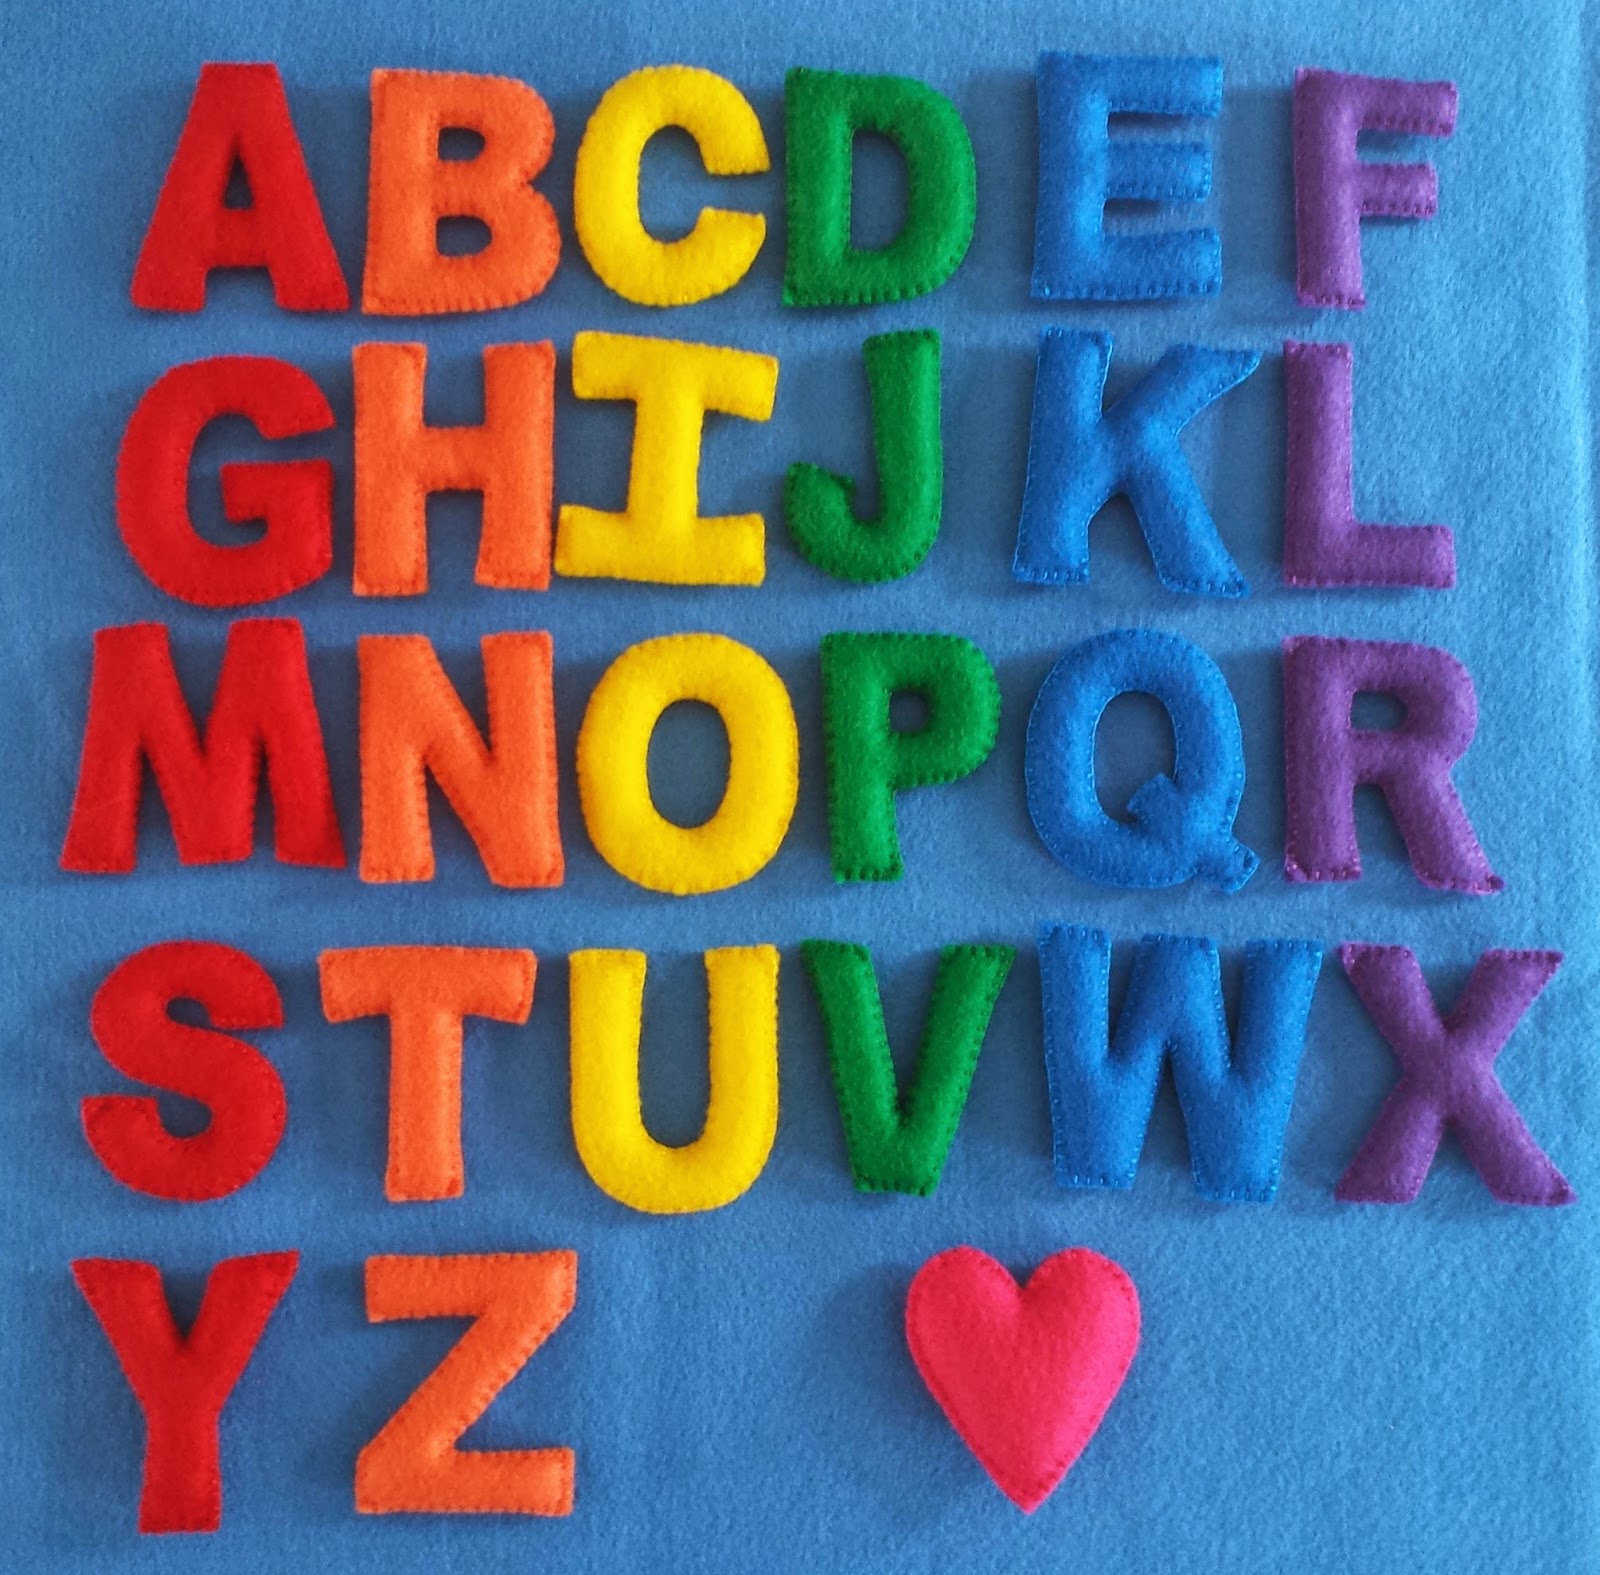
I recently made a custom Etsy order for a fellow blogger, Heather at Crayon Box Chronicles. She requested a set of felt letters for her adorable baby girl - so I created a set of rainbow letters! I used a simple, easy-to-read font in uppercase letters that are about 3".


Disclosure: This post contains affiliate links for your convenience.

I used bright shades in red, orange, yellow, green, blue and purple felt. I did alter the I from the original font, but I kept the J as is. You can either hold the paper letter to the felt and cut around it or use a disappearing ink pen to trace it and then cut it. 


See the difference in the J? I'll probably change the J in the future.


I sewed along the edges using a blanket stitch and filled them with Poly-Fil stuffing. I'm thinking about using Poly-Pellets for a future project. They are weighed stuffing beads, which would be great for sensory-sensitive children and could be used for all kinds of activities.


Aren't they lovely? This was such a fun project for me! I love creating educational toys for kids!


Updated:I found this adorable patterned felt at Target! It was fun fun to make this new set!


My kids love the designs.


I usually use a thread color that matches the felt, but this time I went with white on all of them and I love how they turned out,


Message me at my Etsy store if you ever want a custom order created for you!
Related Posts Plugin for WordPress, Blogger...